WDS+ADK
In this manual we first install WDS (Windows Deployment Service) and after that we install ADK (Windows Assessment and Deployment Kit). They are both useful server tools for automatic and remote software distribution on Windows platforms. Our aim in this goal is to successfully make a fully automatic Windows 8.1 client installation over network. The server's operating system is Windows Server 2012 R2.
Note that WDS needs DHCP service in order to function! You can find information on creating a DHCP server on our wiki DHCP_Server. We also need the installation files of the operating system that is to be installed to the client machine, so in other words the extracted files from the installation disc ISO image file. ADK package is fetched from Microsoft's website.
WDS Installation
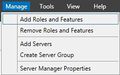
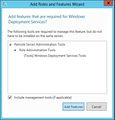
- We begin by going to the server manager and selecting the add roles and features from the dropdown menu on the top right.
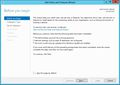
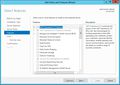
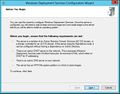
- The installation wizard opens.
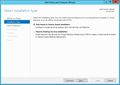
- We select that the service is only installed on one machine.
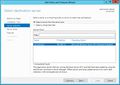
- We select that we want to select the server from the list.
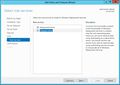
- We select Windows Deployment Service from the list and accept the installation of required additional components.
- Other components are not needed for now.
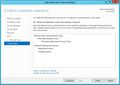
- Some information, bla bla.
- We install both roles.
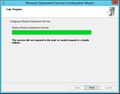
- Installing...
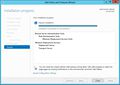
- Done!
1
2
3
4
5
6

7
8
9
10


Configuration
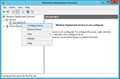
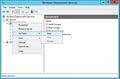
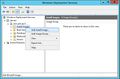
- Avataan wds-hallintapaneeli metrovalikosta ja valitaan valikosta oikea palvelin. Huomaamme että palvelinta ei ole vielä konfiguroitu, joten klikataan oikealla ja valitaan Configure Server.
- Seuraava.
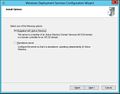
- Valitaan, että onko palvelin osana aktiivihakemistoa vai käytetäänkö sitä itsenäisenä palveluna. Tässä tapauksessa palvelin on itse toimialueen ohjauskone ja haluamme integroida palvelimen osaksi aktiivihakemistoa.
- Valitaan kansio jonne menee boot imaget, install imaget, PXE boot tiedostot sekä wds hallintatyökalut. Esimerkissä on luotu uusi osio tätä varten.
- Ruksi molemmat jos dhcp pyörii samalla palvelimella kuin wds.
- Valitaan että missä tapauksissa asiakaskone voi asentaa käyttöjärjestelmän verkosta. Valitsen että wds vastaa kaikille asiakastietokoneille.
- Alkaa olla valmista.
- Huomioithan että wds tarvitsee erikseen käynnistää! Tämän takia voi syntyä hajoilua :).
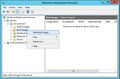
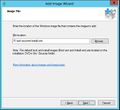
- Lisätään boot image.
- Lisää tähän haluamasi käyttöjärjestelmän boot.wim tiedosto. Se löytyy sources kansiosta.
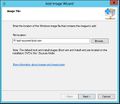
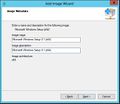
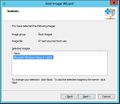
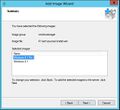
- Tähän Imagen nimi ja lisätietoja.
- Lopputiivistelmä vielä.
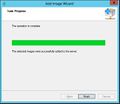
- Valmista.
- Lisätään Install image.
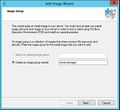
- Tehdään image ryhmä. Tässä tapauksessa ryhmän nimeksi tuli "windowsimaget".
- Valitse install.wim tiedosto, se löytyy myös sources kansiosta.
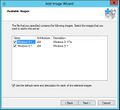
- Valitaan mitä imageja halutaan laittaa jakoon ryhmän alle, nyt valitsemme molemmat mitä on tarjolla eli windows 8.1 ja windows 8.1 pro.
- Ja vielä lopputiivistelmä.
1
2
3
4
5
6
7
8
9
10
11
12
13
14
15
16
17
18


